Thursday, April 12, 2012

Spring Pinwheels


Here are some bright Springtime pinwheels, based on the Oh Happy Day Pinwheel tutorial. They are really fun and easy to make, and brighten up any rainy day!

Supplies:
Thick scrapbook paper 
(double sided is best, if single sided, you can glue 2 patterned papers together)
Hot glue
Buttons
Striped straw or popsicle sticks


Monday, April 9, 2012

DIY: Spring Easter Egg Garland


what you need:
newspaper or paper bags
embroidery Thread
small water balloons
liquid starch


liquid starch recipe: 
bring 1 1/2 cup water to a boil

in a separate bowl, dissolve 3 teaspoons of corn starch in 3 tablespoons of cold water

when the water boils, pour the corn starch mixture in, and stir for 2 minutes - the mixture will be slightly cloudy
remove from the heat, and let cool to room temperature

mix with 1/2 cup of flour to thicken


directions: 
blow up a few water balloons
tip: it helps to stretch the balloons before blowing them up

(important note: do not fill them up with water!) 

use one spool of embroidery thread per egg


remove the paper caps and find the edge of the spool

soak a small section of the thread in the liquid starch and carefully start wrapping it around the balloon


squeeze off any excess starch from the thread as you don't want it to be too thick or goopy

repeating the process of soaking small sections at a time, continue wrapping the egg until the thread is gone (it can be an exact or random pattern, though the randoms seem to hold up better)


make sure the end is tucked under so it is not sticking off of the egg

lay the egg on foil or wax paper to dry


allow 1-2 days for the eggs to dry and make sure the thread is completely dry before popping the balloon
when the egg and thread are dry, carefully pop the balloon and remove the remnants from inside the egg (it helps to gently push the balloon away from the string prior to popping so when the balloon pops it doesn't pull the string inwards with it)


the egg should be perfectly intact and ready to hang

use yarn, twin, or ribbon to make a garland of the eggs


happy spring!


Tuesday, April 3, 2012

DIY: Chalkboard Spice Jar Toppers


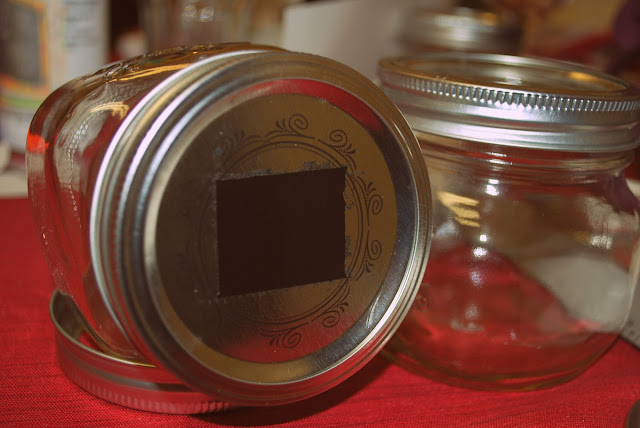
I (Tanya) got some short mason jars from Target (thrift stores are also a great place to buy mason jars of all sizes), and wanted to use them for spices and grains in the kitchen
 

I started off by making a square on the lid using painter's tape and spray painted 2 coats in the middle

it ended up being a very small space to write on, so I decided to spray paint the entire lid on most of them - flexibility is a key ingredient to crafting!
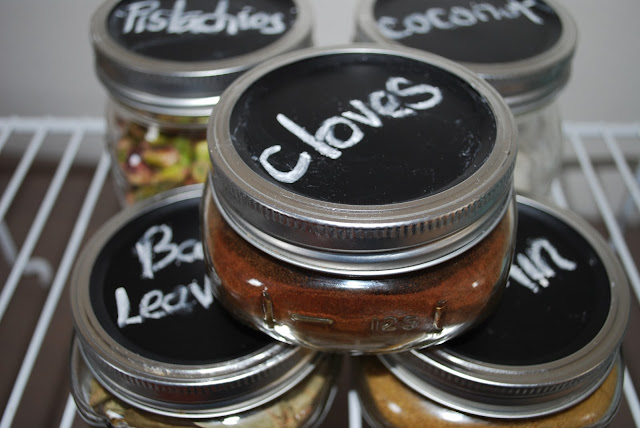


so organized and easy to read!


DIY: Chalkboard Wine Glass Labels

a super easy craft for a gift or for your home! 


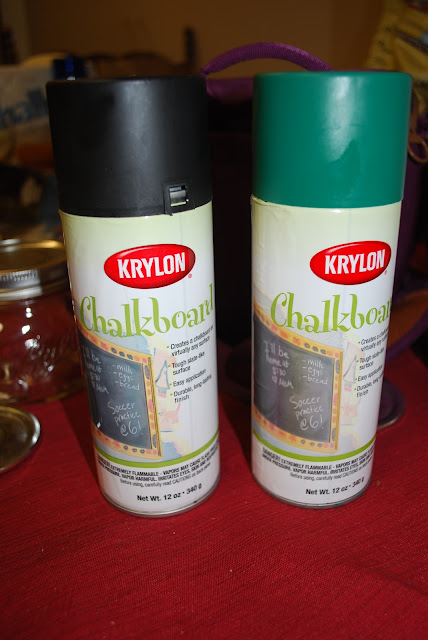
using chalkboard spray paint, make base labels for marking names on wine glasses

first, cover the wine glasses very tightly with newspaper and painter's tape 

depending on how messy you are, cover how you see fit


spray the bases and let them dry for a few hours, then apply a second coat


these turned out great!

the bases look very smooth and shiny, and are perfect for your next party or a gift!


Chalkboard Pots

armed with some chalkboard spray paint, blue painters tape, lots of newspaper and some pots, Jessica set out to make chalkboard labels on pots

what you need:
chalkboard spray paint
painters tape**
pots
newspaper

**note: the painters tape did not work well to keep the spray paint off on a rounded surface! 


on the first try, we taped the top and bottom of the pot carefully, then sprayed the exposed part


be sure to spray the chalkboard paint in a very well ventilated area, or outside


leave the pots to dry for at least an hour or two


unfortunately, the painters tape did not work very well to cover the pot on the rounded surface, so we decided to spray paint the entire pot instead, which still turned out great! 


final product! 
even without the non-painted top and bottom, it's cute and perfect for potted herbs or flowers