Tuesday, July 21, 2015

DIY: Pinata

Our dear crafting friend, C, recently turned 30.
To celebrate, we made her a birthday pinata to commemorate the milestone!


what you need:
cardboard (we used some ikea boxes from a recent furniture purchase)
ruler
pencil
heavy duty scissors, or exacto knife
shipping or painters tape
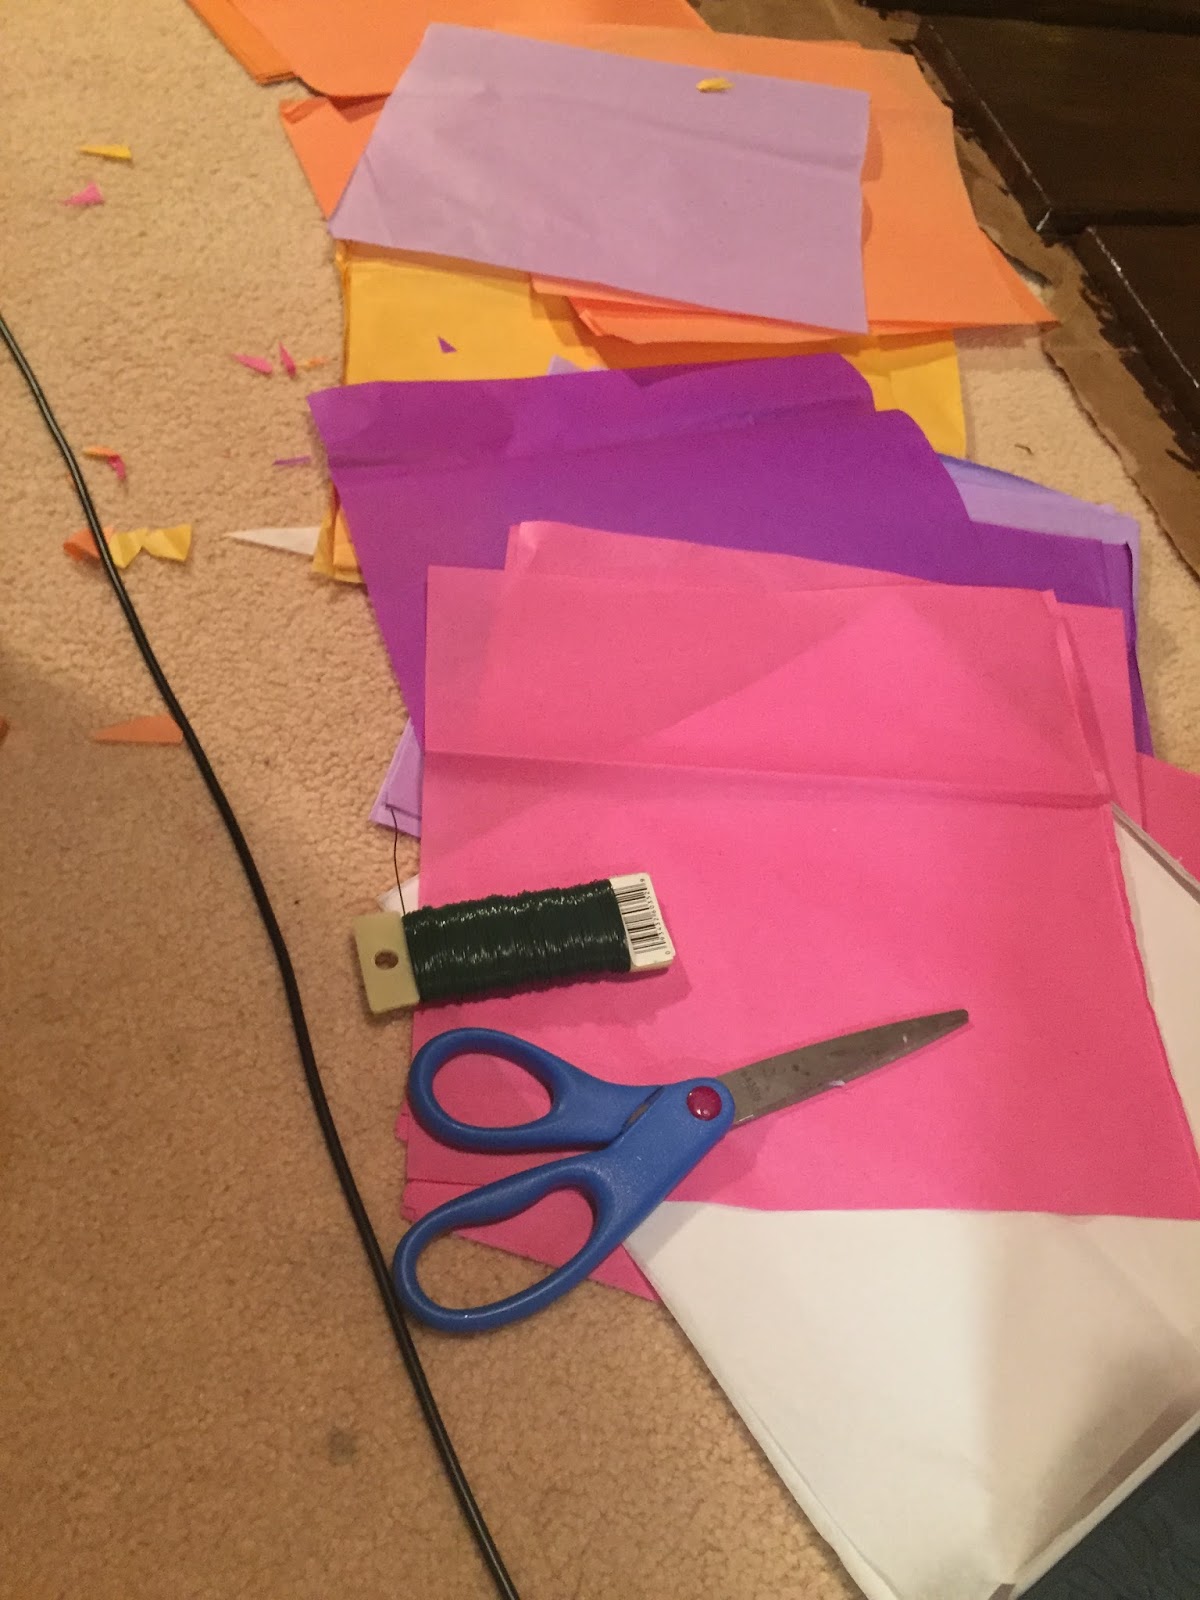
tissue paper of varying colors
runny glue or mod podge

you will first be making a 3D number (or letter, or whatever shape you want!). 
you could print something out and trace it, or free hand it.
cut out two of the same shape.
cut a long strip of cardboard for the thickness of the pinata (we did a 3" strip).
place one of your cutouts on a flat surface, and begin taping the strip of cardboard perpendicular to the shape, placing tape as you go to secure it. once you have added the strip of cardboard, tape your other cardboard shape to the top. this should give you a 3D shape.


cut your tissue paper into strips, and give it some thick fringe. starting from the bottom, glue the tissue paper to the shape, with a bit of overlap.


cover the entire pinata! for flat surfaces that are visible, you can either add fringed or flat tissue paper to cover the cardboard.


the final product!


we didn't fill our pinatas with candy, but i would recommend putting something inside if you are planning on being outside. we used ours as the centerpiece at the birthday picnic, and the wind kept blowing them over (so some weight inside would have been helpful!)


BONUS: cut out a word or phrase with your extra cardboard, spray paint it, and add toothpicks for a fun and custom cake (or cupcake) topper!


Friday, June 26, 2015

DIY: Paper Flowers Version 2 - Rolled Paper Flowers

To continue with the theme of paper flowers...here is an incredibly easy way to make rolled paper flowers! These are a bit more sturdy than the tissue paper flowers, but just as easy to make.


what you need:
a heavier weight paper, in various colors (i used cardstock)
scissors
hot glue gun
dowels (i used skewers, and they worked great)


cut your paper into 6" squares (you can vary the sizes for different sized flowers)


cut the corners so they are rounded


cut a continuous spiral (does not need to be perfect! the waves create texture on what will become the petals)


you'll end up with something like this:


starting from the outside, roll the paper tightly


keep rolling!


when you reach the center, you will not be able to roll any further


the un-rolled section will become the base of the flower


don't worry if you let it go, it will stay rolled and look like this:


next, place a big dot of hot glue on the bottom layer


push down


voila! rolled paper flower!


turn over your flower, and put a dot of hot glue down; press your skewer into the hot glue (and hold it there until it dries a little bit, should only take a few seconds)


you can cut the skewers to varying lengths to give the flowers depth once they are put into a vase


you can group together in vases, an easy centerpiece! our flowers live on the entry table


Tuesday, June 23, 2015

DIY: Paper Flowers Version 1 - Tissue Paper Flowers

I (Jessica) have been obsessed with the idea of paper flowers for months now...they seem to be the latest trend in DIY, and for good reason. At a recent craft night, we tackled two versions of the paper flower, and they turned out beautifully!

You can store them pretty easily, so you can use them multiple times! They might get a little crumpled, but you just need to take them out and fluff them up. 


what you need:
tissue paper in various colors
scissors
wire or pipe cleaners


cut your tissue paper into 10" squares (you can make the squares any size, depending on what size flowers you want; we learned that squares work best)


carefully select 6 squares of tissue paper


line them up 


starting from the bottom, fold up accordion-style in about 1" folds


once it's all folded up, fold the accordion in half


fold a piece of wire over the middle


cut the ends of your tissue paper into either triangle or circular shape


you can also cut fringe into the ends to create different looks


starting from the top layer of tissue paper, start pulling the tissue away one layer at a time


fluff it all the way out and you're done! 


we made a mountain of flowers, and they have already been used at multiple events. 


happy crafting!