Thursday, July 19, 2012

Sew What?: Make Your Own Pillow Covers


easy throw pillow covers tutorial


what you need:
fabric & thread
scissors
pins
sewing machine


pick your fabric
the fabric I picked was slightly sheer, so I also picked a liner fabric to go inside for extra thickness
warning: if you go to a fabric outlet, you WILL get overwhelmed with all the choices!

measure the pillows you'd like to cover, length and width
make sure to get the curve of the pillow (how fat it is)
tip: if you don't have a soft tape measure, you can use a shoelace (or iPhone charger) to measure
the length and then line it up with a ruler/yardstick to see how long it is


measure and cut your fabric: 3 pieces total
1 for the front, 2 for the back

the front piece should be 2 inches longer than the size of your pillow, both length and width
ex) if your pillow is 18"x18" your fabric should be 20"x20"

the back 2 pieces should have the same width as the front piece
the length of the back pieces should be half the length plus 3"
ex) if your pillow is 18"x18" your 2 pieces should each be 20"x12"


take the 2 back pieces and fold over a half an inch piece (approximately) on one of the 20"sides
iron it down so it stays put
sew a small hem along that edge

lay out your 3 pieces:
the front (large) piece should go down first, pretty side up
lay down your 2 back pieces, pretty side down, on top of it so the unhemmed edges
are lined up with the sides of the front piece, hemmed sides on the inside
these two pieces will overlap

fold over the two hemmed edges about 2 inches (they should still overlap about 1/2" to 1")
and iron them down so they stay put
pin all three pieces together so they don't move while you're sewing


now sew a hem (about 1/2" to 5/8") around all edges, making sure the middle pieces still overlap


after you've sewn all edges, turn it inside out and your pillow cover is complete!


stick your pillow inside for an easy to use pillow cover


the pillows in action!

Monday, July 9, 2012

Guest Post: DIY Razor Back Tank


Check out this awesome tutorial from Teal Jensen, a recent Nursing School grad, super talented painter, native San Diego surfer girl, and overall creative genius. Thanks for sharing, Tealita!


I’m from a town that takes lots of pride in celebrating their Independence. So this
year when the 4th rolled around and I had nothing to sport my Patriotism, I decided
to make something. 
This idea is a great, not only for the 4th, but for summery tops
and workout tanks as well. After hours of roaming the floors of Forever 21 and
H&M, I found an oversized red-white-and-blue striped tee. Here’s how I went from
an oversized men’s tee to a cute fitted razor back tank:

You’ll need:
1) Any old tee
2) Pair of Scissors


Step 1) Grab an oversized tee. Funky Thrift store finds work great for this.


Step 2) Cut off the crew neck, sleeves, and 1-2” of the bottom seam.

Step 3) Turn the shirt to the back and cut in the sides of the straps to create a “razor back" appearance.

Step 4) Then cut a "V" down from the neck on the back of the tee.


Step 5) Take the bottom piece of the shirt you cut and remove the seam. Do this
by cutting and pulling the thread until you are left with one long stretchy piece of fabric.


Step 6) Pull and stretch the fabric – the longer the better, but make sure it doesn’t break. It should end up looking like a long spaghetti noodle.


Step 7) With the noodley fabric tie a knot 2” above the base of the “V” on the back.
Wrap the fabric around the straps, until you completely cover the bottom 2” of the
straps. Then tie two knots to secure the fabric to the straps.


  Voila! You can now sport this top to your next yoga class, the beach, or any other festivities you have this summer!

Friday, June 29, 2012

Fabric Pom Pom Necklace


Tutorial found here: Fabric Pom Pom Necklace

materials needed:
fabric of your choice
round metal necklace charms
sharpie
scissors
toothpick or skewer
necklace chain


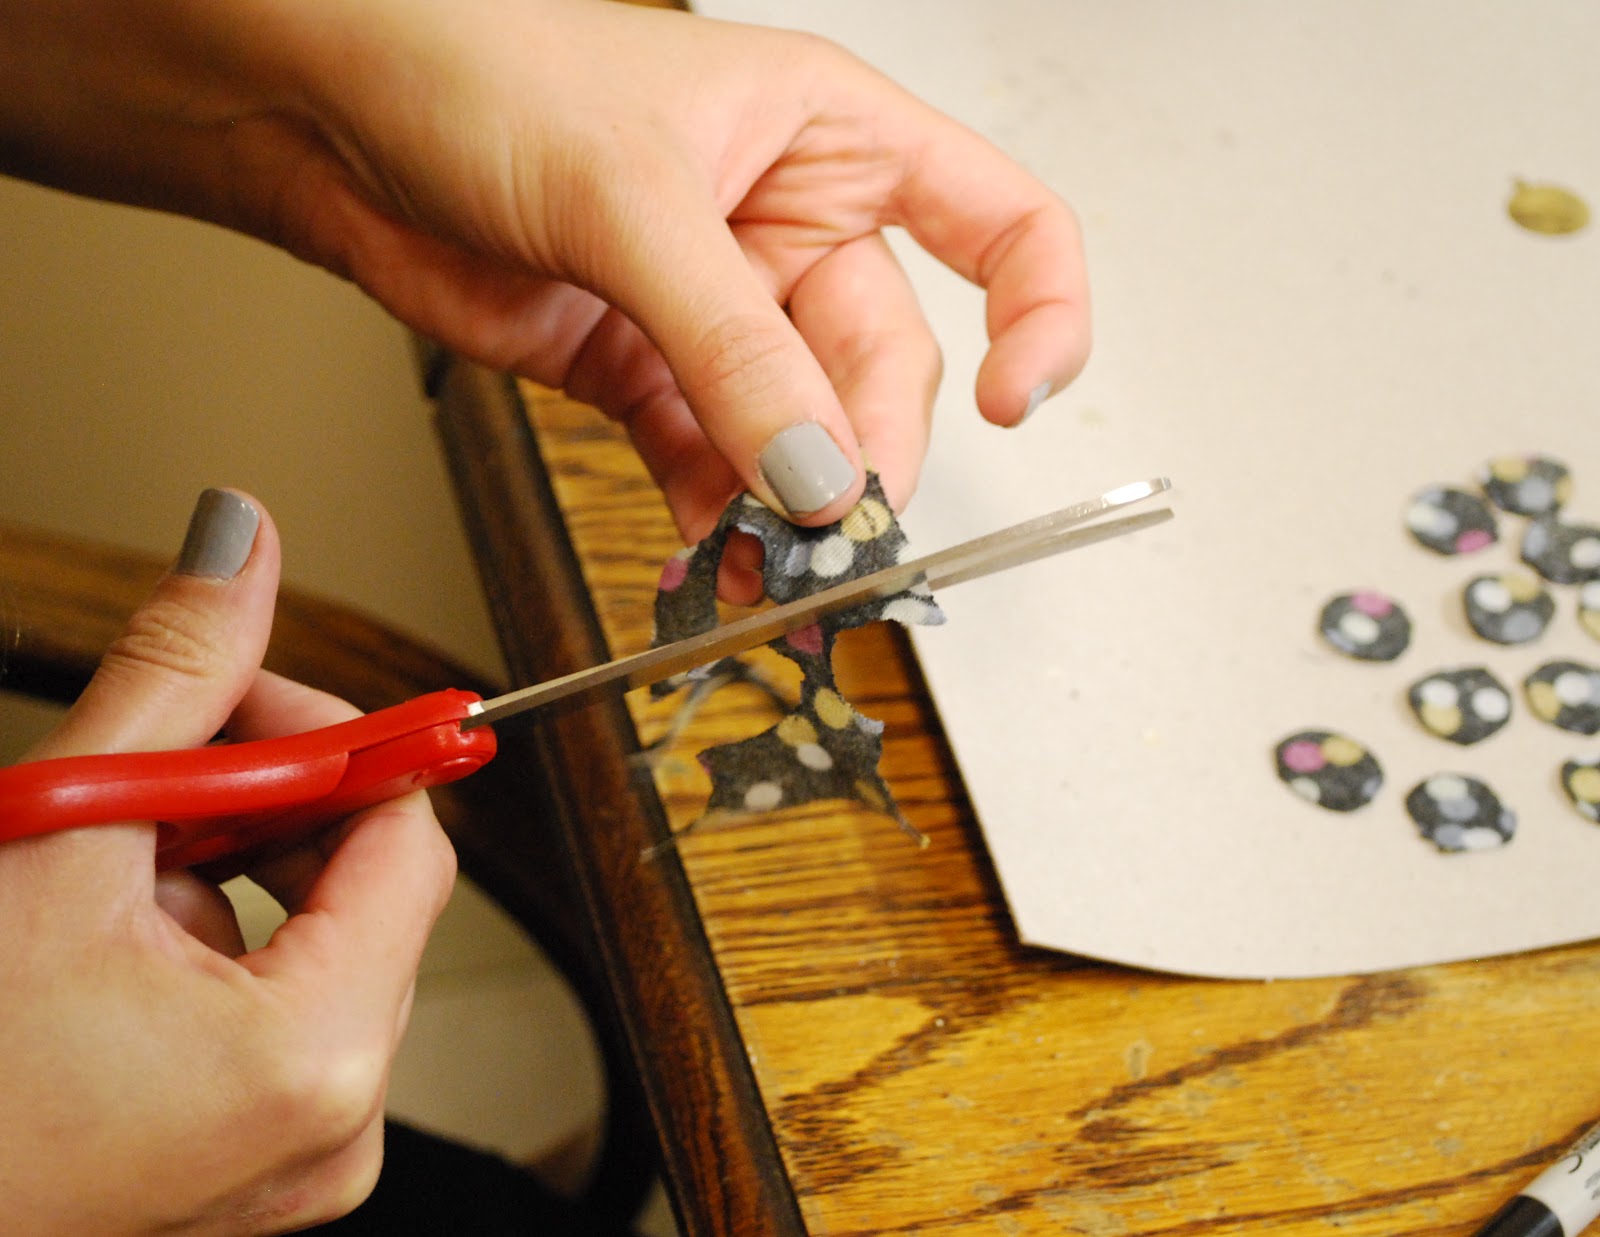
trace your metal charm onto the fabric making 10-20 circles (depending on the size of your charm)


cut out your traced circles


using your toothpick or skewer, fold up the circle to a point with the skewer inside


place a dot of hot glue on the end of the point of fabric


place the glued end onto your metal charm
repeat until your charm is full


Thursday, June 28, 2012

DIY: Dip Dyed Stationery and Flowers


The purple dye we used: Jacquard Dye

Tanya's Dip Dyed Stationery


 Cerisa's Dip Dyed Fabric Flowers


Monday, June 18, 2012

Mini Clay Succulent Pots

See the full inspiration and tutorial here: DIY Handmade Clay Pots


materials:
oven bake clay
plastic clay tools
rolling pin (or a water bottle!)
wax paper (to cover your table)
circle stencil or a circle-shaped glass
succulents!


start by rolling out your clay to form the outside of the pot
you can use a rolling pin, or get creative and use a blue water bottle like us!


use a straight edge or a triangle with a knife to cut the bottom and sides straight


using a circle stencil or a round-bottom glass, cut out a circle for the base


wrap your sides around the circle and cut off the excess
score and slip the pieces that you are joining together (the sides and the bottom) so they will stay stuck


roll out small pieces of clay to reinforce the joints


wet your clay tool with water and squish the clay rolls into the joints


smooth out the bottom with a little water after you score and slip
pop in the oven according to your clay's directions


voila!
perfect for some tiny succulents or herbs
and a perfect mother's day gift!