Saturday, July 28, 2012

Inspired by: Wedding Chicks Free Printables

These are awesome free printables that can be used for party or wedding invitations, baby or bridal shower decorations, escort cards, or as I used them recently- party food labels. They can really pull together a food spread and add a pop of color! 


Template I used: Ombre Escort Cards

They are so easy to do, just choose your design template and colors, enter the titles you want, and create a print!  A printable document is created with four labels per page that you can print out on any normal printer using cardstock or glossy paper.

*A special Thank You to Rhiana Moussa of Super Fancy Chef for her wise recipe planning help, especially the Rosemary Pancetta Scones and Tea Party Salad recipes. These are the perfect summer brunch recipes!*


[Photo credit: Nikki Riley of Brown Paper Booth]

Tuesday, July 24, 2012

Sew What?: Colorful Aprons

The first, and most important step, for sewing anything: have fun!


Now that you want to sew and have fun, find a simple pattern to start with 
A lot of sewing patterns are marked with a difficulty level (some are even labeled "Sew Easy!")
Check the back of the pattern for what you'll need for the project and gather your supplies!


Tanya's fabrics:


Jessica's fabrics:


Trying to look the part of wise sewing advisor:


When you open the pattern, find the pieces you'll need for you're particular project
If you're not sure how to lay out your fabric, the pattern instructions usually have several layout
options to help you get started
I usually lay all the pieces out and move them around a couple of times before pinning
Once you have everything laid out, pin your pattern pieces to the fabric along the edges


And, then, get to cutting!


Before you unpin the pattern from the cutout fabric, make sure you clip the fabric at all the 
triangle marks, and make a mark at all of the dots
For marking dots, you can use a fabric pencil, a pin, or, my personal favorite, a "bonker" (pictured below)
Apparently, this tool is actually called a pattern marker but I've been calling it a "bonker" my whole life


It can be tempting to skip this step, but the marks come in handy later for lining things up, especially if you don't cut very straight lines (like me)


Once you have everything cut and marked, unpin the pattern pieces
Every pattern comes with instructions that you can follow along with, they are usually relatively easy to understand, or you can get together with your friends and share answers and have a sewing factory like we did!


It's pretty easy, once you get the hang of it!  


Here, Tanya is finishing the edges of her pockets before sewing them to the front of the apron:


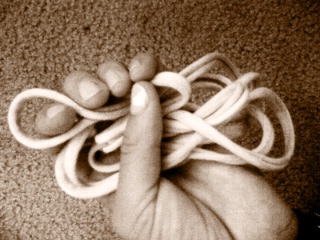
Jess is demonstrating how to use this nifty tool we found for turning straps!
If you don't have a nifty tool, use a wooden chopstick or something similar


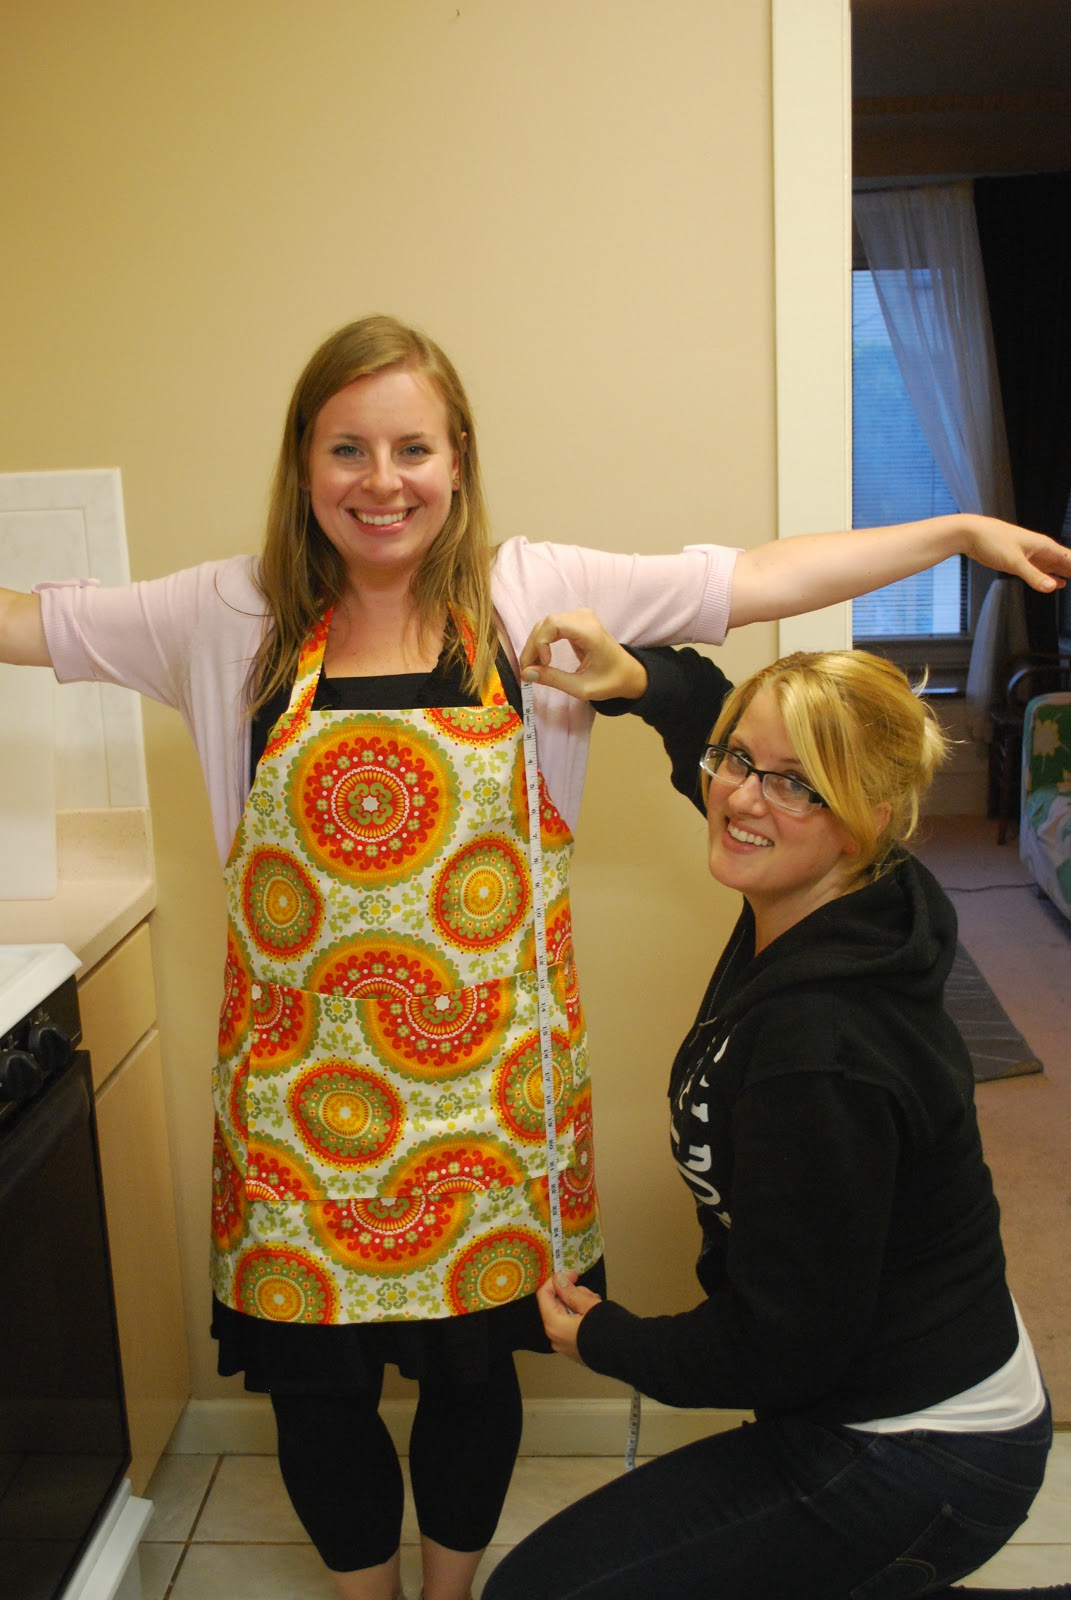
Checking Jess' work, she had to make hers a little shorter than the pattern...


Showing off the finished product!


And, voila!
At the end of the day, you have a finished apron that you can be proud of and show off to your friends and family while pouring them a cup of tea in their favorite pink elephant mug, just like Jess

**special thanks to Erin Cave for the use of her sewing machine!**

Thursday, July 19, 2012

Sew What?: Make Your Own Pillow Covers


easy throw pillow covers tutorial


what you need:
fabric & thread
scissors
pins
sewing machine


pick your fabric
the fabric I picked was slightly sheer, so I also picked a liner fabric to go inside for extra thickness
warning: if you go to a fabric outlet, you WILL get overwhelmed with all the choices!

measure the pillows you'd like to cover, length and width
make sure to get the curve of the pillow (how fat it is)
tip: if you don't have a soft tape measure, you can use a shoelace (or iPhone charger) to measure
the length and then line it up with a ruler/yardstick to see how long it is


measure and cut your fabric: 3 pieces total
1 for the front, 2 for the back

the front piece should be 2 inches longer than the size of your pillow, both length and width
ex) if your pillow is 18"x18" your fabric should be 20"x20"

the back 2 pieces should have the same width as the front piece
the length of the back pieces should be half the length plus 3"
ex) if your pillow is 18"x18" your 2 pieces should each be 20"x12"


take the 2 back pieces and fold over a half an inch piece (approximately) on one of the 20"sides
iron it down so it stays put
sew a small hem along that edge

lay out your 3 pieces:
the front (large) piece should go down first, pretty side up
lay down your 2 back pieces, pretty side down, on top of it so the unhemmed edges
are lined up with the sides of the front piece, hemmed sides on the inside
these two pieces will overlap

fold over the two hemmed edges about 2 inches (they should still overlap about 1/2" to 1")
and iron them down so they stay put
pin all three pieces together so they don't move while you're sewing


now sew a hem (about 1/2" to 5/8") around all edges, making sure the middle pieces still overlap


after you've sewn all edges, turn it inside out and your pillow cover is complete!


stick your pillow inside for an easy to use pillow cover


the pillows in action!

Monday, July 9, 2012

Guest Post: DIY Razor Back Tank


Check out this awesome tutorial from Teal Jensen, a recent Nursing School grad, super talented painter, native San Diego surfer girl, and overall creative genius. Thanks for sharing, Tealita!


I’m from a town that takes lots of pride in celebrating their Independence. So this
year when the 4th rolled around and I had nothing to sport my Patriotism, I decided
to make something. 
This idea is a great, not only for the 4th, but for summery tops
and workout tanks as well. After hours of roaming the floors of Forever 21 and
H&M, I found an oversized red-white-and-blue striped tee. Here’s how I went from
an oversized men’s tee to a cute fitted razor back tank:

You’ll need:
1) Any old tee
2) Pair of Scissors


Step 1) Grab an oversized tee. Funky Thrift store finds work great for this.


Step 2) Cut off the crew neck, sleeves, and 1-2” of the bottom seam.

Step 3) Turn the shirt to the back and cut in the sides of the straps to create a “razor back" appearance.

Step 4) Then cut a "V" down from the neck on the back of the tee.


Step 5) Take the bottom piece of the shirt you cut and remove the seam. Do this
by cutting and pulling the thread until you are left with one long stretchy piece of fabric.


Step 6) Pull and stretch the fabric – the longer the better, but make sure it doesn’t break. It should end up looking like a long spaghetti noodle.


Step 7) With the noodley fabric tie a knot 2” above the base of the “V” on the back.
Wrap the fabric around the straps, until you completely cover the bottom 2” of the
straps. Then tie two knots to secure the fabric to the straps.


  Voila! You can now sport this top to your next yoga class, the beach, or any other festivities you have this summer!