Tuesday, September 16, 2014

DIY: Wood Wedding Signs

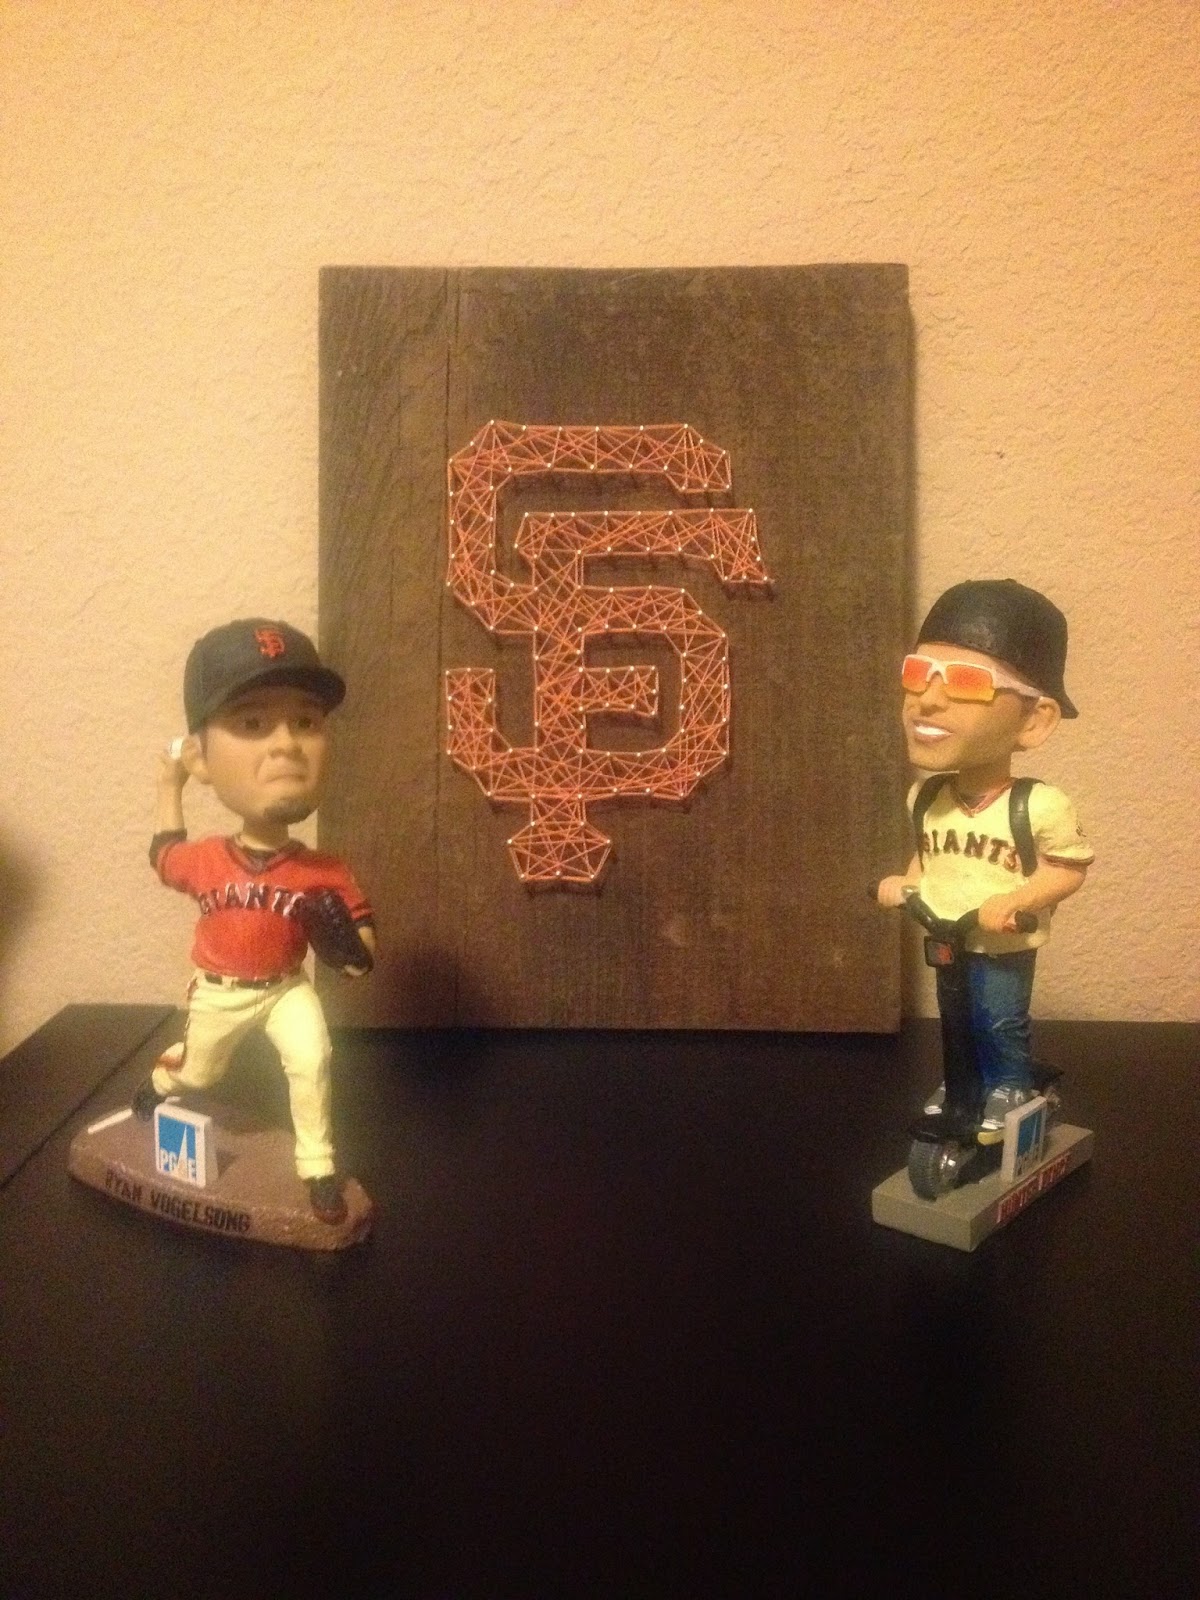
DIY wood signs can add a great ambiance to a wedding - especially a beach wedding!

what you need:
wood (the bride, Katrina, picked some up from her hometown beach)
paint
paintbrushes
printer (and a computer... and ink!)
acetone nail polish remover
metal utensils
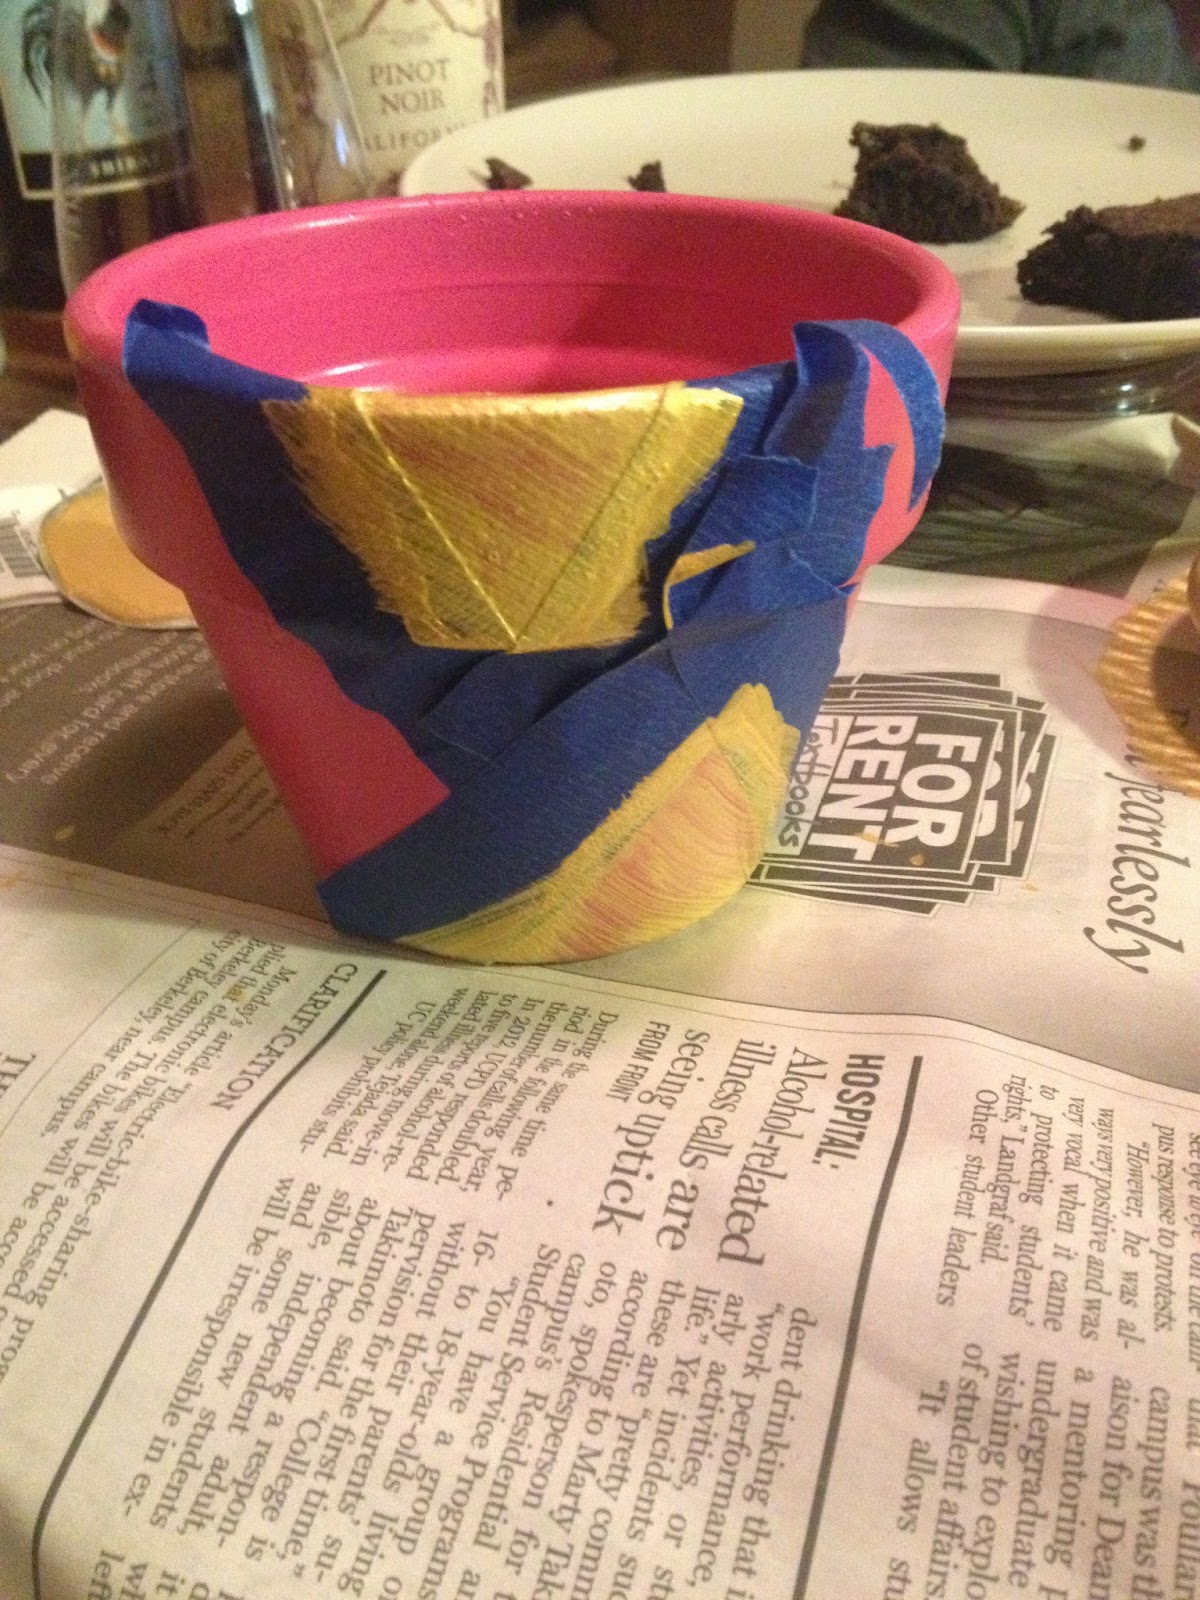
newspaper to cover working surface


to start, decide what words and fonts you want to use
tip: we found non-cursive to be much easier unless you have a good free-hand painter

measure your wood to determine what size you should print


print your words BACKWARDS in a thick font
(here's a tutorial for flipping a text box in Word)

place your word(s) on the wood in your desired location and
tape them down so they don't move while you're working


look at that brilliant tape job!
(tip: encourage each other along the way to keep motivation strong)


choose one brush for your acetone

brush acetone over the letters one at a time
(tip: if you don't want to get high, wear a mask)
(obviously we didn't care about that)


after you coat a letter, take a metal utensil (spoon, wine stopper, etc.) and scrape over the letter


we found that getting the edges of the letter mattered most, which is also
why we did mainly block letters instead of cursive handwriting fonts

the ink should transfer onto the wood, but depending on the type of wood you have
it might not be very dark, which is why scraping the outline of the letter matters more


once all your letters are transferred, paint them!


though the letters will be there for you to trace, patience is still key


that's it!

photo credit: Josiah Hassler Photography                                           


we also made some signs on stone hearts, but the ink didn't transfer with this method
so we had to free-hand draw them (with a white, erasable pencil first!)


we also had a special guest this crafternoon: Katrina's cat, Fly!


he just loves being held like a baby


Sunday, August 3, 2014

DIY: Painted Pots

need to take your average terra cotta pots to the next level? paint them!


what you'll need:

terra cotta pots and coasters (any size!)
spray paint
painters tape
a complimentary paint color (we used non-spray paint for the accent color)
newspaper
plants!

start by applying a coat (or two) of spray paint on your pots. be sure to check the dry time on your paint, so that it's dry before you apply the accent color.


tip: be sure to paint the inside of your pots, so that whatever is visible once the plant is in there is the right color (and not terra cotta).


we painted the coasters in the accent color, to add a bit of fun.


once your base color is dry, use painters tape to create the shapes you want (we did triangles and diagonal lines).


give it a day to dry (trust us!) before you remove the tape.

and voila!


find some succulents or your favorite plant, and you are done!


what colors did you combine? what plants did you use? 


happy crafting!

Monday, July 28, 2014

DIY: String Art

we found many inspiring pictures of string/nail art, and thought we’d try our hand at the latest Crafternoon

finding a good how-to for this craft was tough, so hopefully this helps you out!


what you need:
wood (our boards varied in size and cut, as well as source - some came from thrift stores, some from old fences!)
~100 nails each - they sell gold and bronze as well as silver
string of your choosing (we each brought a spool of thread of varying weights and colors)
hammer
printout of shape/word/etc. you want to create
painters tape (helpful to initially position the shape)


begin by positioning your shape/word printout where you want on the board, and loosely tape the edges


next, get out the hammer and nails

depending on your shape, you can first put a nail at every major corner, then fill in the additional nails evenly between the sections, or you can attempt to go around the shape evenly spacing the nails (I guess it depends on how much of a perfectionist you are!)

don't nail the nails in all the way: they should be in far enough to be stable but sticking out so as to wrap the string around them


once all of your nails are in position, remove the paper printout

you can gently rip it, assuming you don’t want to use the printout for anything else


pick a starting point, and tie the string in a double knot around the nail
you will go back at the end to trim the extra tail of string

you can either outline your entire shape at this point, or start randomly twisting the string around nails - the SF logo was done by outlining first, and the California state shapes wasn’t pre-outlined, both look great!

now keep stringing away!
keep going until you like how much string is on your nails
tip: the string needs to be kept tight, loose string causes unravelling and much frustration


as an alternate option: put the string on the outside of your words, so that the void of string is what makes the word/shape visible - yes!


when you've strung to your heart's content, tie a double knot on the last nail and trim the extra tail of string

string art complete!


if you want to put a little heart for your favorite place, just place the nails and string around them!


what did you create? send us photos!

p.s. this craft is not for the faint of heart - be prepared to be worn out, as displayed below :)