
we found many inspiring pictures of string/nail art, and thought we’d try our hand at the latest Crafternoon
finding a good how-to for this craft was tough, so hopefully this helps you out!
finding a good how-to for this craft was tough, so hopefully this helps you out!

what you need:
wood (our boards varied in size and cut, as well as source - some came from thrift stores, some from old fences!)
~100 nails each - they sell gold and bronze as well as silver
string of your choosing (we each brought a spool of thread of varying weights and colors)
hammer
printout of shape/word/etc. you want to create
painters tape (helpful to initially position the shape)

begin by positioning your shape/word printout where you want on the board, and loosely tape the edges

next, get out the hammer and nails
depending on your shape, you can first put a nail at every major corner, then fill in the additional nails evenly between the sections, or you can attempt to go around the shape evenly spacing the nails (I guess it depends on how much of a perfectionist you are!)
don't nail the nails in all the way: they should be in far enough to be stable but sticking out so as to wrap the string around them

once all of your nails are in position, remove the paper printout
you can gently rip it, assuming you don’t want to use the printout for anything else
you can gently rip it, assuming you don’t want to use the printout for anything else

pick a starting point, and tie the string in a double knot around the nail
you will go back at the end to trim the extra tail of string
you will go back at the end to trim the extra tail of string
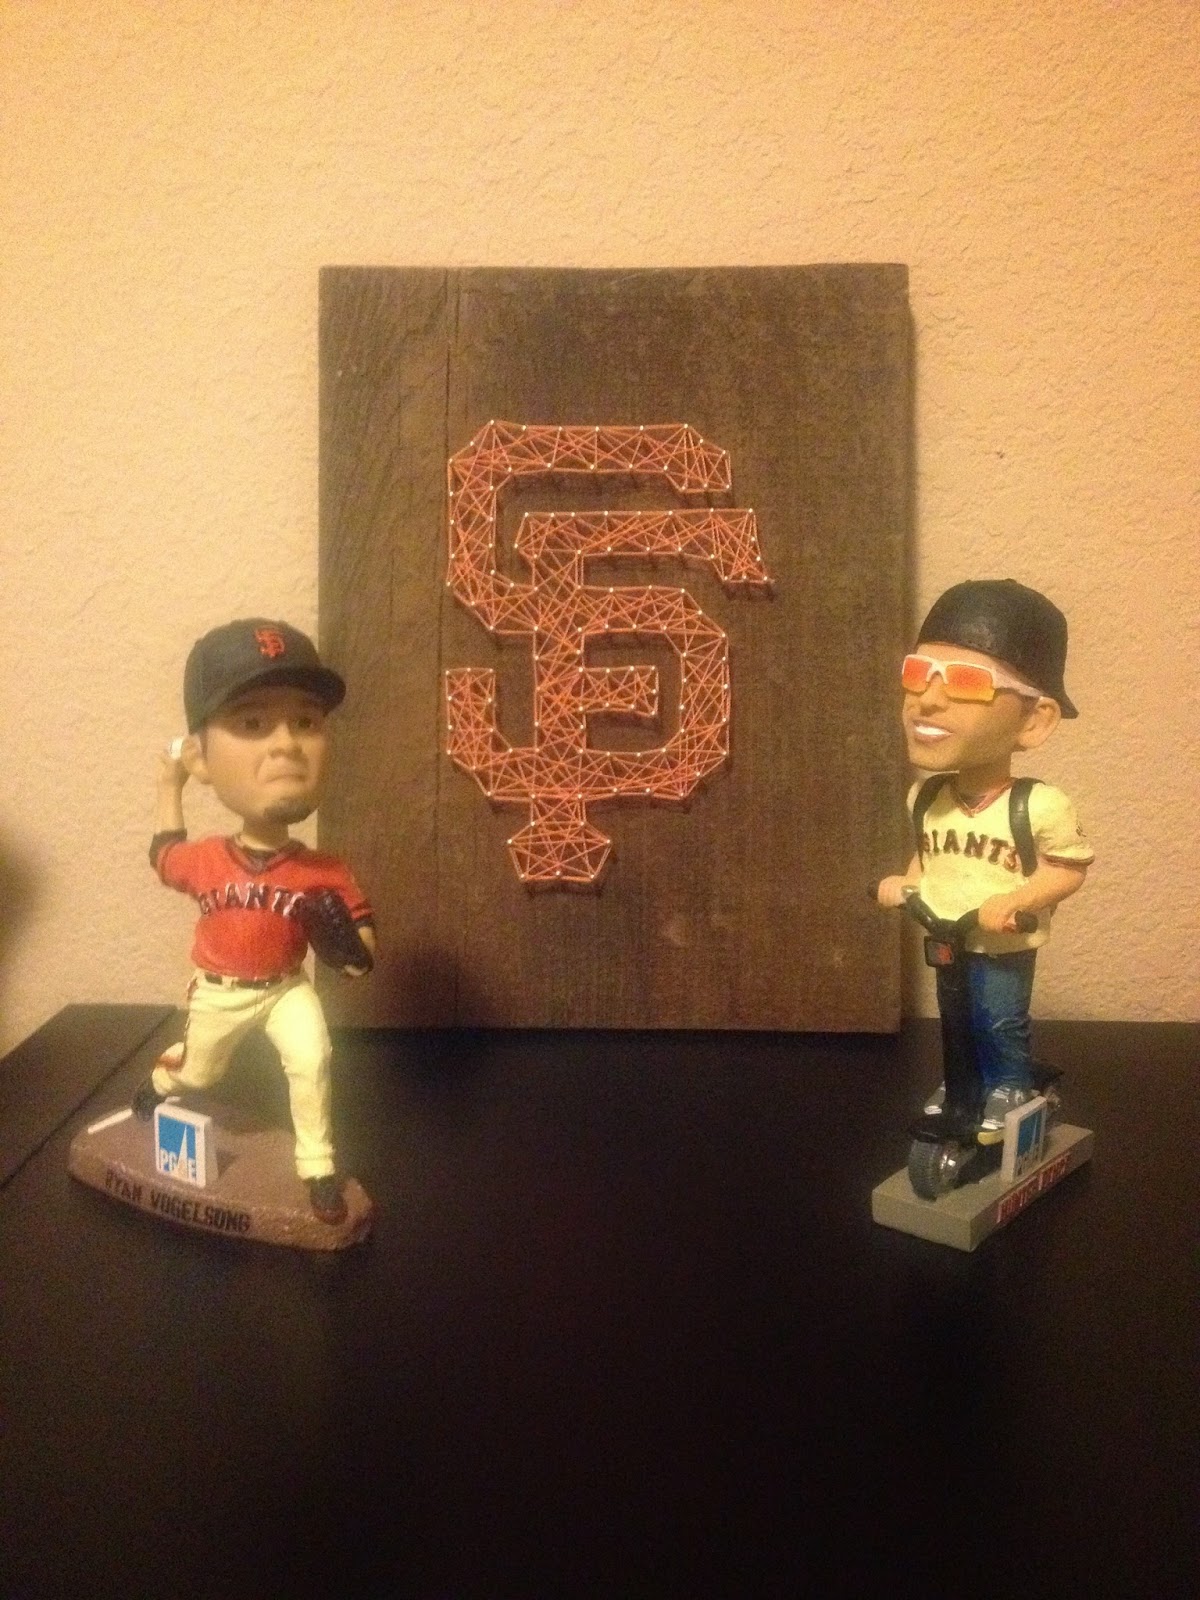
you can either outline your entire shape at this point, or start randomly twisting the string around nails - the SF logo was done by outlining first, and the California state shapes wasn’t pre-outlined, both look great!
now keep stringing away!
keep going until you like how much string is on your nails
tip: the string needs to be kept tight, loose string causes unravelling and much frustration
keep going until you like how much string is on your nails
tip: the string needs to be kept tight, loose string causes unravelling and much frustration

as an alternate option: put the string on the outside of your words, so that the void of string is what makes the word/shape visible - yes!

when you've strung to your heart's content, tie a double knot on the last nail and trim the extra tail of string
string art complete!

if you want to put a little heart for your favorite place, just place the nails and string around them!

what did you create? send us photos!p.s. this craft is not for the faint of heart - be prepared to be worn out, as displayed below :)

0 comments:
Post a Comment